
FastVPS / Practical services
Change DNS and nameservers
Prepare the zone, verify it and coordinate the change window.
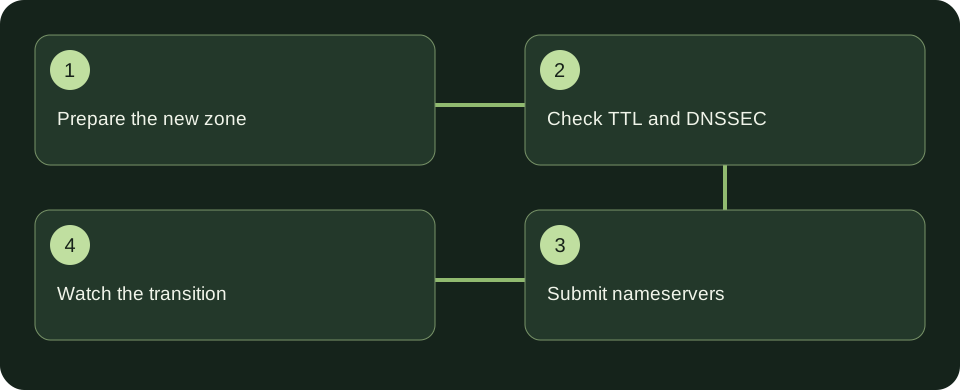
Prepare the new zone
Copy all required records to the new DNS provider first. Check email, verification TXT and subdomains. Changing nameservers without a complete zone can interrupt services.
Check TTL and DNSSEC
Allow for existing TTL values. If DNSSEC/DS is enabled, coordinate with support: an old DS that does not match the new zone can prevent resolution.
Submit nameservers
Open the domain’s nameserver management in the panel. Use the exact names supplied by the new provider. Keep the old values available for rollback.
Watch the transition
Check registry delegation, answers from the new nameservers and independent resolvers. Verify HTTPS, forms and email before closing the migration.
Reference: DNSSEC · RFC 4035